Sunday, September 29, 2013

How To Cook Okra On The Grill

It is okra season and WOW are they yummy when they are made on the grill. This is one of the easiest ways that I have EVER made okra. I always liked okra so it does not matter how I make it, I will like it. I have heard that even those people who do NOT like okra, will LOVE okra when it is made on the grill. The flavor is amazing!! So, if you decide to give this recipe a chance, be sure to get more okra than you thought you would use because it will be a big hit. 

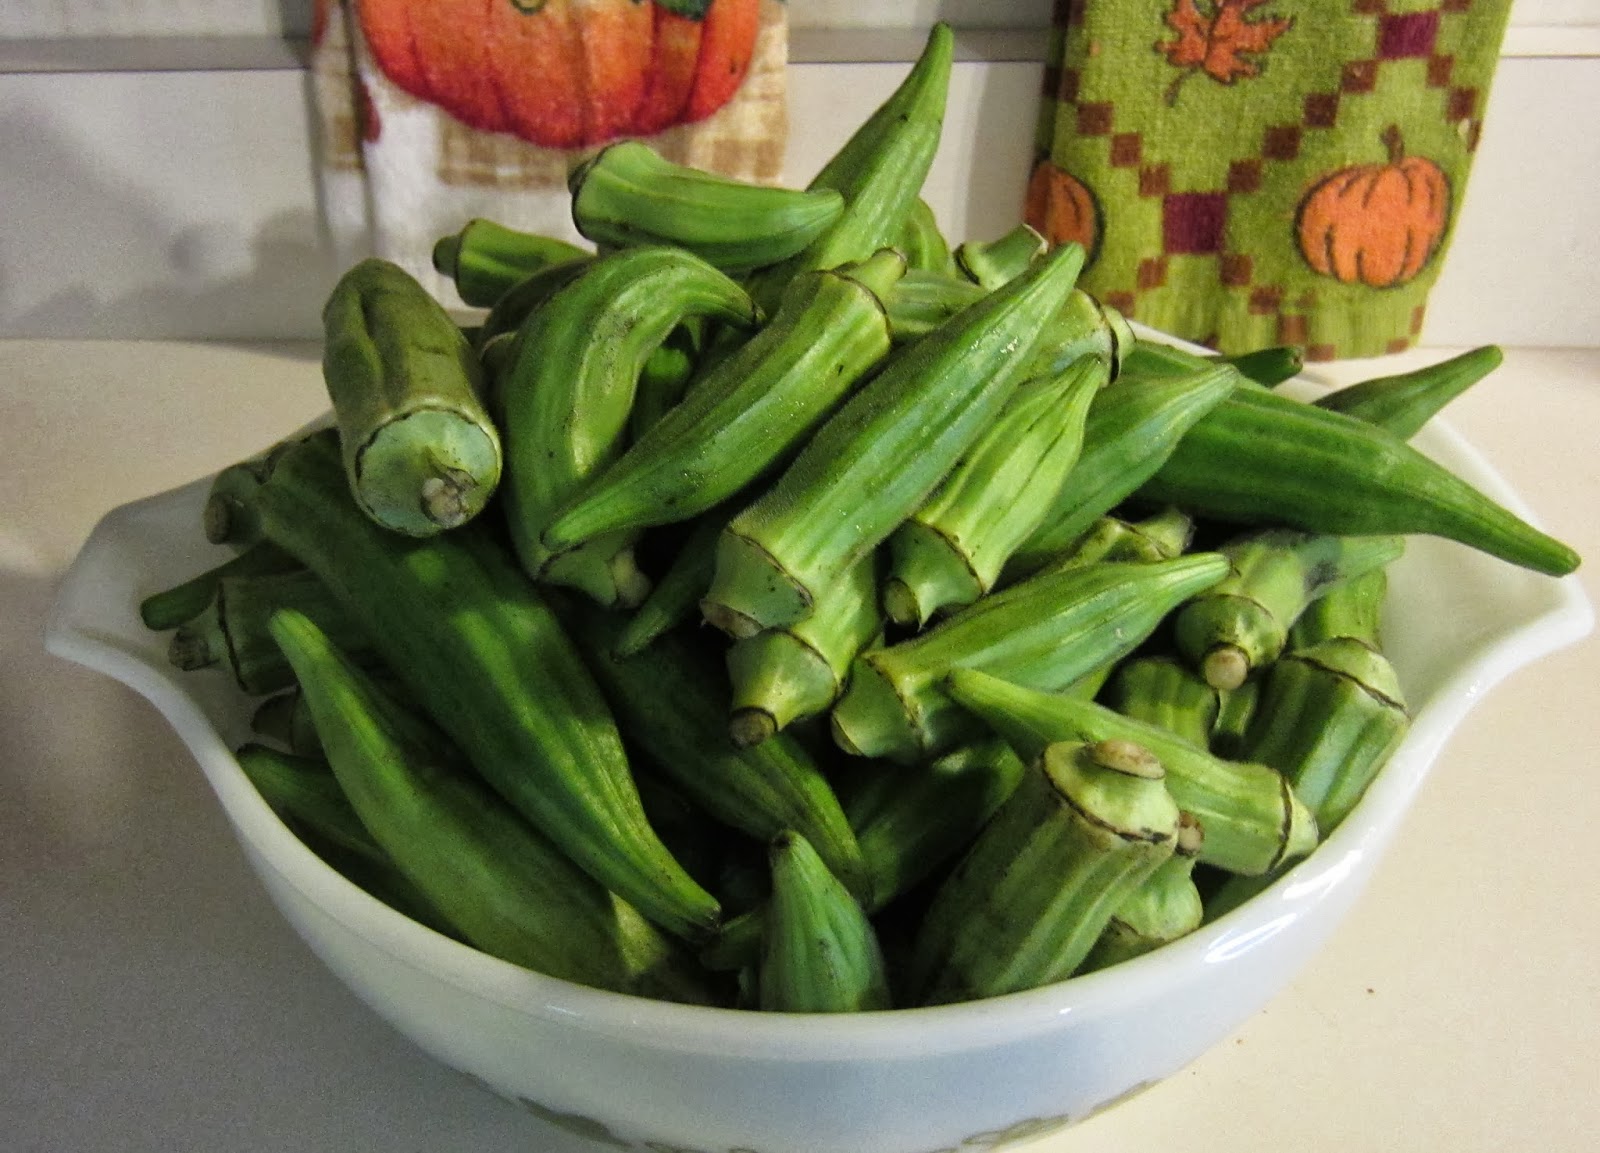
You will want to stick with the medium to smaller okra for ANY okra recipe. Okra can be stringy and very hard to chew if you get them large. They are tender when they are smaller.

I used 21 okra. I did not weigh them. :)
  
In a small bowl I mixed:
*About 2 Tablespoons of Olive Oil
*About a Teaspoon of Garlic Powder
*Pepper as desired
*And I used a small amount of Cajun seasoning but you can use any kind of seasoning that you like. 

Adjust the seasoning however you like it. The seasoning can be very versatile and the taste will be fabulous no matter how you do it. Promise. This is just how I did it. Use your imagination and use what you have in your kitchen to spice it up. :) 

I put a piece of foil on a tray. Then I pushed a skewer through the middle of each of the okra and laid them on the foil like this. I used a brush to brush the oil and seasoning onto the okra. Some people only brush the oil on before they cook it and then put the seasoning on last but WOW the taste was amazing with the seasoning baked onto the okra.


This is how warm our grill was when we put the okra on the grill. If you are not sure how hot your grill is, do not stress. I will show you a picture of what mine looked like when I flipped it. Just flip them when you think they are about done on that side. They become soft and will want to fall off the skewer when you flip them. Yum!

We lay the skewers on the grill like this. We cook with wood but any kind of grill works.
We cook them for about 5 minutes on one side. Then we flip them over and cook them for another 5 minutes.
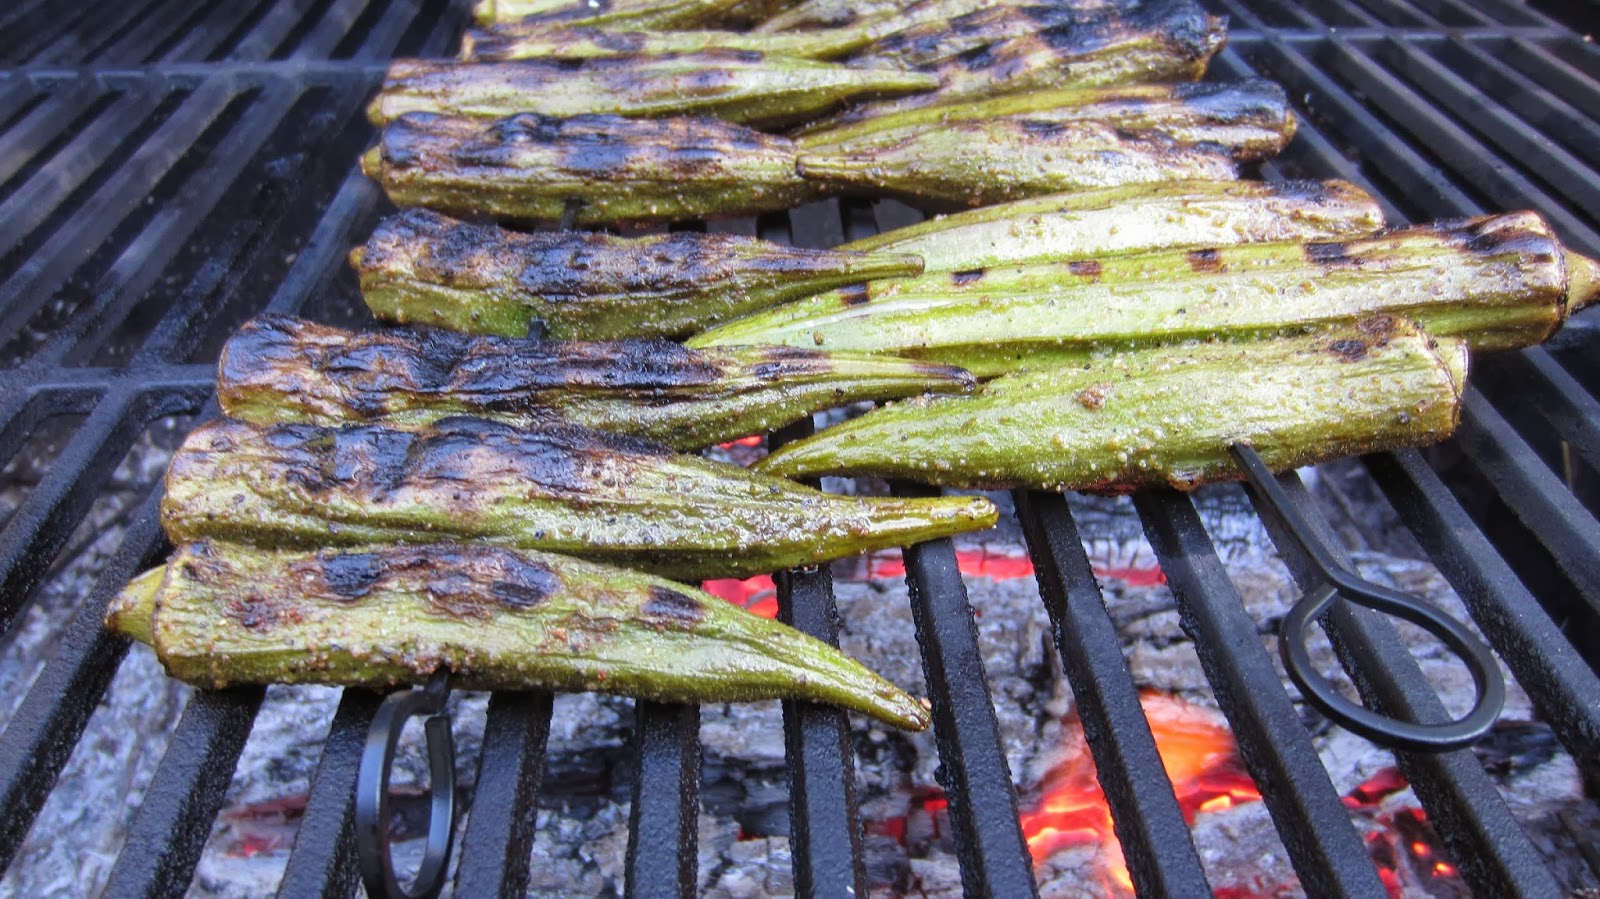
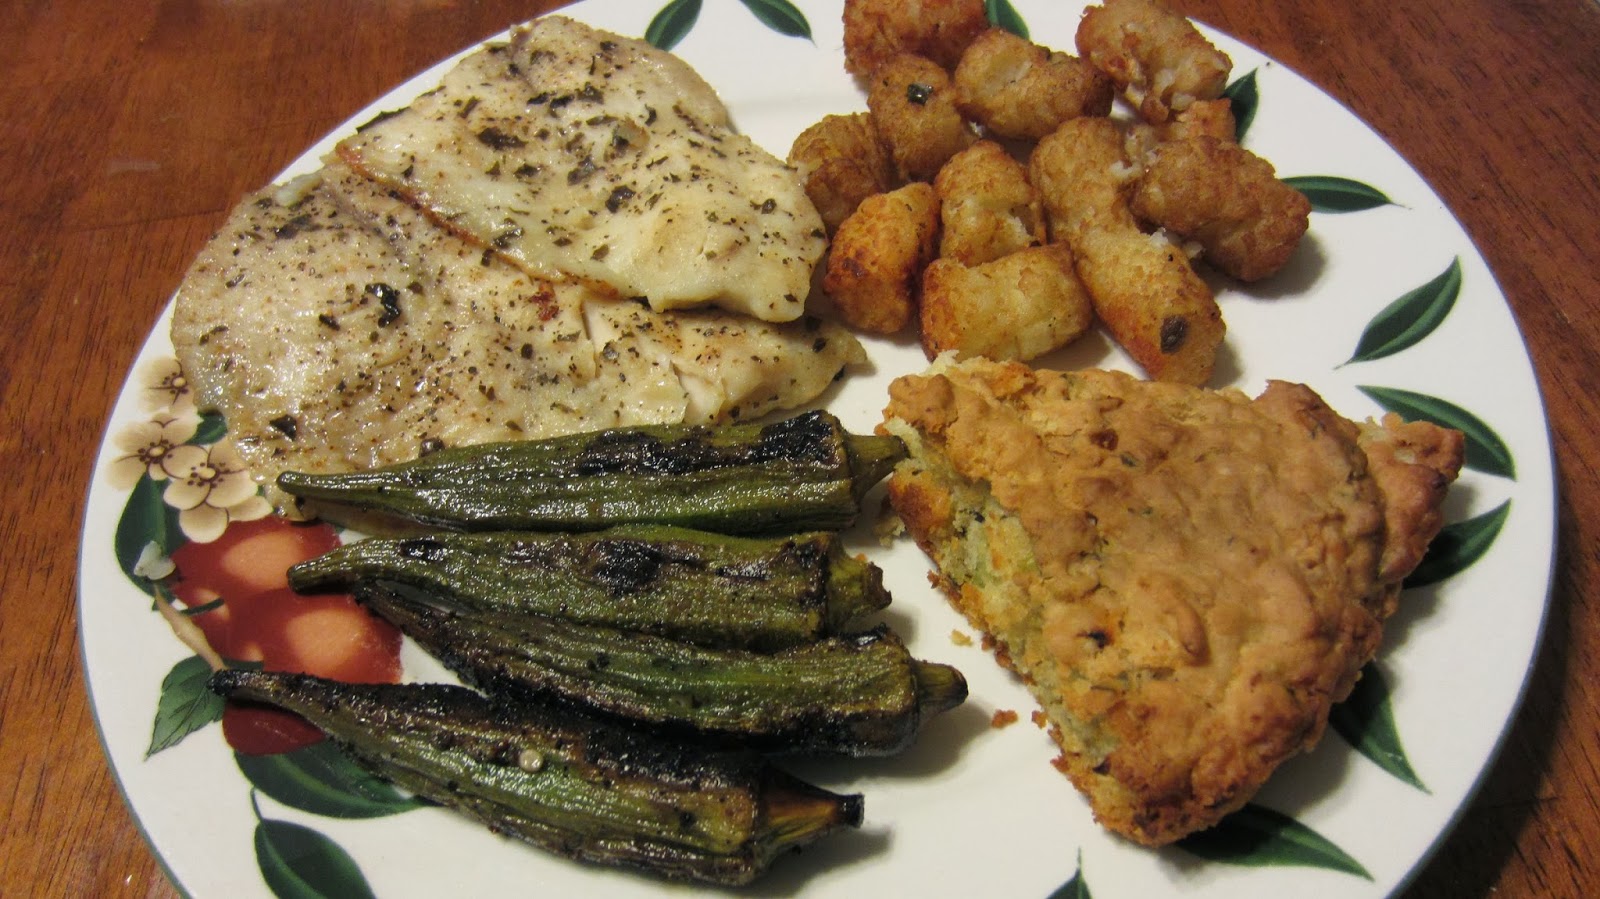
This is what they looked like after we flipped them. Serve warm.

We cook EVERYTHING on the grill when we grill out. Cooking over the open fire is our favorite way to cook. Yes, I even make breads and biscuits on the grill. :) On this night we made fish, okra, homemade biscuits and tater tots. Hubby likes his french fries cooked on the grill too. 
  
Cooking with wood is a BIG cost savings. We learned to cook with wood and we will never have to buy charcoal or propane again. You can cut your own wood or buy it by the ric and you will cook so many more dinners at less cost than you would with charcoal or propane. I am reassured that my food does not have chemicals cooked into it also. It is also a great way for family to gather and talk while dinner cooks. We all enjoy sitting by the fire, basking in great conversations, while we slow cook our meals. It is a great way for any family to grow closer.

Thank you so much for visiting our blog.
Have a beautiful day!!   


EASYMEWORLD FACEBOOK PAGE: https://www.facebook.com/EasyMeWorld

Saturday, September 28, 2013

Halloween Werewolf Slash Face Painting Tutorial


Having a large family always encouraged us to be super creative at Halloween. We wanted you to share in some of our fun as a family and a few of our face painting ideas.

This is an easy step by step tutorial on how to do a Werewolf Slash face painting. This is a fun and cost saving way to make your Halloween easy and creative. Be sure to see all of our other Halloween face painting tutorials. 

HERE IS A LINK TO OUR STEP BY STEP VIDEO TUTORIAL:
http://youtu.be/TaLc5LTI2V0

Lets get started by showing you what Jarrott's face looked like before the Werewolf slashed his face. :)

This is an extremely easy face painting for those who want a quick and easy costume. You will only need 2 colors. Black and red. We used acrylic paint but I have since learned that face paint is a better choice because acrylic paint can cause serious reactions to your skin even though the bottle says it is non toxic. Here are some face painting tips to follow: http://painting.about.com/od/faceandbodypainting/a/FacePaintCindy.htm

The first step is to paint black diagonal lines across the face. We start with the center line and then paint the outside gashes on both sides of that center line. Go across his forehead and down between the eyes. Then across the cheek. Like this.

The next step is to paint the red on and around the gashes to make it look like a fresh wound.

Once you are done painting... he can make all kinds of painful faces and invite the Werewolf to join in the fun. Hahaha 

We thank you so much for visiting and we hope this tutorial encourages you to come up with fun ways to make your own Halloween costume ideas.

Here is the video for this tutorial:
It is quite funny and you will get a giggle out of it for sure. :)


Don't miss our other face painting tutorials!
You can also click on the links to the right to see the blog tutorials.
2
DAY 1 ZOMBIE:  http://youtu.be/GDJ9O_N-WSg

2
DAY 2 NIGHTMARE FACE:   http://youtu.be/d8ujJc30P90

DAY 3 WEREWOLF:  http://youtu.be/B8QI_R_VxIQ


Day 5 Crying Ghost:  http://youtu.be/IY402OKK7zI

EASYMEWORLD FACEBOOK PAGE: https://www.facebook.com/EasyMeWorld


EASYMEWORLD BLOG:  

EASYMEWORLD CHANNEL:

HAPPY HALLOWEEN!


Friday, September 27, 2013

Halloween Crying Ghost Face Painting Tutorial

Our silly family decided to paint our faces to share with you some ideas on how to paint your face for Halloween. I know that as a mom I always wanted to find inexpensive costumes for my kids and we always liked to get creative. We found it very costly to buy costumes in the stores and they weren't very original. This is an inexpensive way to make your Halloween costume original and fun for kids AND adults. hehe

YES!! THAT IS A REAL TEAR!! Hahaha


 I am not the best face painting subject for sure. This is the
first time I ever had my face painted. I am not sure how
much I will encourage others to paint their faces but it sure
was a HOOT to give it a try.  I have very sensitive eyes and almost everything makes them water. The odd feeling of the paint on my face and eye lids REALLY made me cry.
Kymberly's original plan was to paint something really cool
but since I couldn't stop my eyes from watering... I became a crying ghost. hahaha Very fitting.  The video is kinda funny.

_____________________
 
HERE IS THE LINK TO THE 

VIDEO:


________________________________

HOW TO PAINT A CRYING GHOST FACE

This is one of the easiest face paintings ever. The best part... You can cry about it and nobody will notice. LOL This is me right before we started to paint.
 I never saw what was coming. Haha

The first thing you do is paint your face, forehead and neck with white acrylic paint. NOTE:  We used acrylic paint but I have since learned that face paint is a better choice because acrylic paint can cause serious reactions to your skin even though the bottle says it is non toxic. Here are some face painting tips to follow: http://painting.about.com/od/faceandbodypainting/a/FacePaintCindy.htm
Yikes! As if that is not scary enough!! (The tears started to pour down my face as soon as I opened my eyes) 
The next thing you do is paint black circles on and around your eyes. You take the paint brush and pull the black down to give it the look of black tears running down your face. 
The last thing you do is to paint black lips on.

YOU ARE DONE!!
Wasn't that easy??
Gotta love it! 

Check out the video: 


Don't miss our other face painting tutorials!

DAY 2 NIGHTMARE FACE:   http://youtu.be/d8ujJc30P90

DAY 3 WEREWOLF:  http://youtu.be/B8QI_R_VxIQ

DAY 4 HOBO: http://youtu.be/SLs1YQHafr0


This one is super funny. LOL
DAY 6 WEREWOLF SLASH:  http://youtu.be/TaLc5LTI2V0


EASYMEWORLD FACEBOOK PAGE: https://www.facebook.com/EasyMeWorld


EASYMEWORLD BLOG:  

EASYMEWORLD CHANNEL:

Thank you so much for visiting! 

Happy Halloween!

Thursday, September 26, 2013

Halloween Hobo Face Painting Tutorial

Our silly family decided to paint our faces to share with you some ideas on how to paint your face for Halloween. I know that as a mom I always wanted to find inexpensive costumes for my kids and we always liked to get creative. We found it very costly to buy costumes in the stores and they weren't very original. This is an inexpensive way to make your Halloween costume original and fun for kids AND adults. hehe 

---------------------------
This is one of my favorite face painting videos because it made me laugh so much to edit this video. Kymberly's faces are epic. I also laughed because I had the worst Hobo voice EVER. Yes, that makes me laugh. LOL 

Here is the link to the video:


---------------------------

The 4th day of face painting is how

 to paint a Hobo.

I wanted to show you how Kymberly looked "before" she painted her face so that you can see how different she looks after her face is painted. She is so funny.

NOTE:  We used acrylic paint but I have since learned that face paint is a better choice because acrylic paint can cause serious reactions to your skin even though the bottle says it is non toxic. Here are some face painting tips to follow: http://painting.about.com/od/faceandbodypainting/a/FacePaintCindy.htm
The first thing you do is give yourself a big black beard and huge eye brows. You can put a little silver in your beard to give it highlights.


The next step is to paint brown on and around your eyes to give them a saggy look.


Now it is time to draw bags under the eyes and give yourself PLENTY of worry lines on your forehead, down your nose and on your face. Don't forget the crows feet on the corners of the eyes. This will make the hobo appear tired and worn out.


In order to highlight the wrinkles you can add a little white under the wrinkles. Like this... 


The finished Hobo looks amazing.


It is a silly and fun costume. 

Don't forget to check out the video. 


DAY 3 WEREWOLF:  http://youtu.be/B8QI_R_VxIQ

DAY 2 NIGHTMARE FACE:   http://youtu.be/d8ujJc30P90


EASYMEWORLD FACEBOOK PAGE: 

KYMBERLY'S CHANNEL:  

EASYMEWORLD BLOG:  

Thank you so much for stopping by. 
HAPPY HALLOWEEN!

Wednesday, September 25, 2013

Halloween Werewolf Face Painting Tutorial


It is day 3 of our 6 days of face painting. We are going to show you how we painted this Werewolf face. Kymberly did a great job at teaching us how to do this. All of her face painting ideas have been great so far. We hope these videos help to make it easy for you to have a cost saving Halloween for the whole family. 
-----------------------------
Check out the video on how to paint this face. It gives step by step instructions on how to paint a Werewolf face. 
HERE IS THE LINK:  http://youtu.be/B8QI_R_VxIQ
-----------------------------
LETS GET STARTED ON OUR STEP BY STEP BLOG INSTRUCTIONS. 

We used brown, black, green and white paint.

We use acrylic paints for all of our face painting. We start out by applying a layer of brown to the whole face and neck with a sponge.
NOTE:  We used acrylic paint but I have since learned that face paint is a better choice because acrylic paint can cause serious reactions to your skin even though the bottle says it is non toxic. Here are some face painting tips to follow: http://painting.about.com/od/faceandbodypainting/a/FacePaintCindy.htm
The next step is to apply dark eye brows and shadows around his beard area. We also give him dark black eyes. 

We grab a smaller brush and make lines on his forehead, down his nose and across his cheeks. Be sure to give him a black nose.  

Next we give him black lips and a curled up mouth like this... We also paint green eyes on his eye lids. 

While his eye lids are drying, we paint teeth on him and we also give him a few white shadows under his wrinkle lines on his face. We then give him black pupils in the center of his green eyes.

Here is a close-up of his face after it is done. 

We hope you have a wonderful Halloween and best of all... HAVE FUN!!
Thanks for visiting us!! 

------------------------------------

A step by step video tutorial:    


Don't miss out on our other days of face painting. 
Here is a list: 

Day 1 Zombie

Day 2 Nightmare Face


Day 5 Crying Ghost:  http://youtu.be/IY402OKK7zI


This one is super funny. LOL
DAY 6 WEREWOLF SLASH:  http://youtu.be/TaLc5LTI2V0

EASYMEWORLD FACEBOOK PAGE: https://www.facebook.com/EasyMeWorld